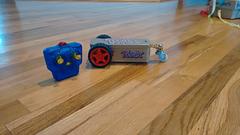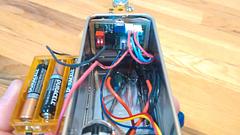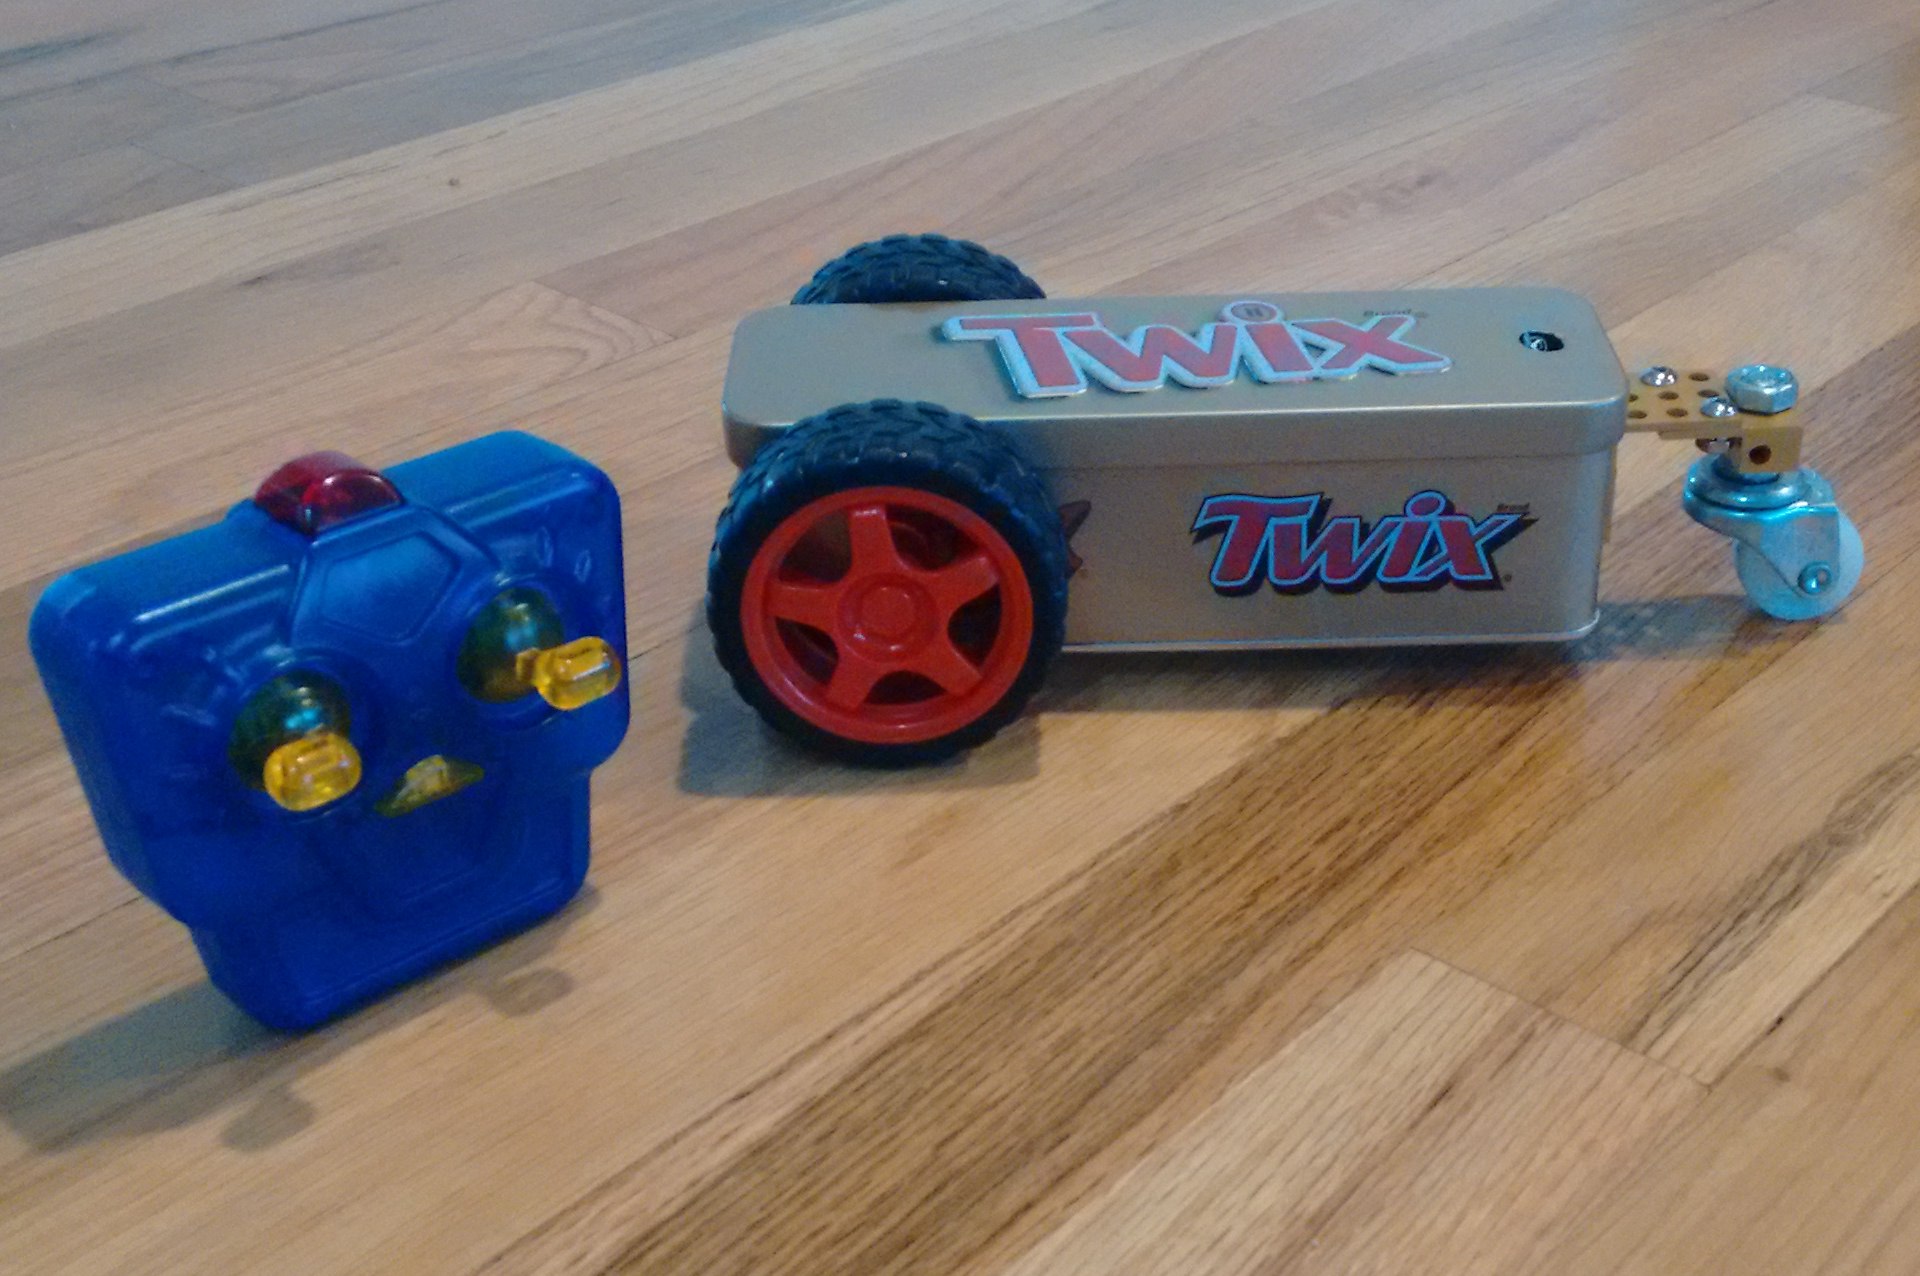
My wife got a tin full of Twix for Christmas (which I helped her eat), so when they were gone I called dibs on the tin (I think it came from Walmart). A metal tin makes a neat little enclosure for some electronics and is usually rigid enough to mount some motors to. I have lots of motors laying around so it took very little effort to get this particular bot running (under an hour from start to finish) and there are very few parts.
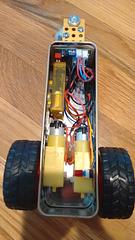
I got away with only having to drill 3 holes in the tin - one for each motor shaft to go through and one for the IR sensor to poke through so it can be controlled using the IR remote. Also, since it is so lightweight and small, I didn't even bother bolting anything down - just hot-glue everything in place and start playing!

Objective:
My objective for this project was to find a way to use this neat little twix container to make something my kids could play with. I have two 9 month olds and a 2 1/2 year old that love playing with anything that moves, so ideally the 2 year old would drive this thing and the babies would chase it around the room.
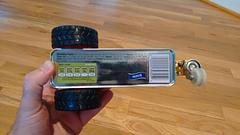
With this in mind, I needed control to be simple and have no wires exposed (so they can't unplug anything), and it needed to be quick as I do not currently have a lot of time to tinker or write code for the Arduino. So I opted to skip the Arduino this time around and go with a pre-programmed board that I had laying around. This allowed me to complete this robot in less than an hour.
Motors:
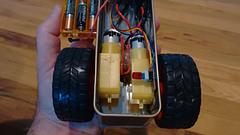
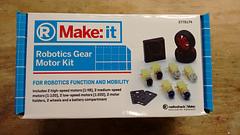
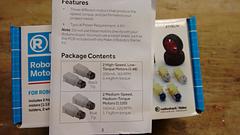
For the motors, I used 2 solarbotics style gear motors from a Make/Radio Shack motor kit that came with wheels. Radio Shack stopped selling this kit at some point and completely removed the reference of it from their website (don't get me started on that), so I can't share the link with you, but the motors are generic Solarbotics style GM3 gear motors.
The specs for the motors are 165rpm at 6v and draw 200mA of current. If you have the kit shown below, I used the motor pair with the black top (1:48 gear ratio).

Electronics:
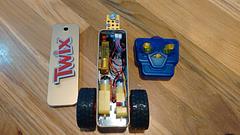
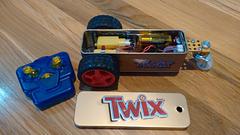
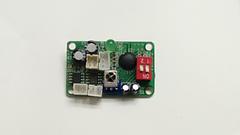
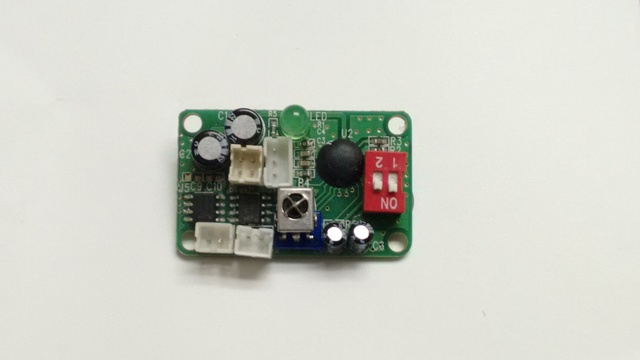
I mentioned that I did not use an Arduino for this project and instead used a pre-programmed controller board that I had. The controller board was removed from a previous project of mine (Linus V2), that started as another robot tank kit from Radio Shack (made by Popular Mechanics) that was controlled using an infrared remote and receiver and had a built in motor-controller for (2) Solarbotics motors. I removed the included electronics and put an Arduino in to make that bot a line-follower, so I have been trying to think of something to use the control board that came with that kit.

The beauty of this control board is that it is a self-contained module and needs very few parts to operate. It came with a battery pack (3x AAA) and a power switch, and has headers to plug everything directly onto the board with no need to solder anything. It also has a DIP switch onboard to allow controlling multiple of these bots in the same room without interference.
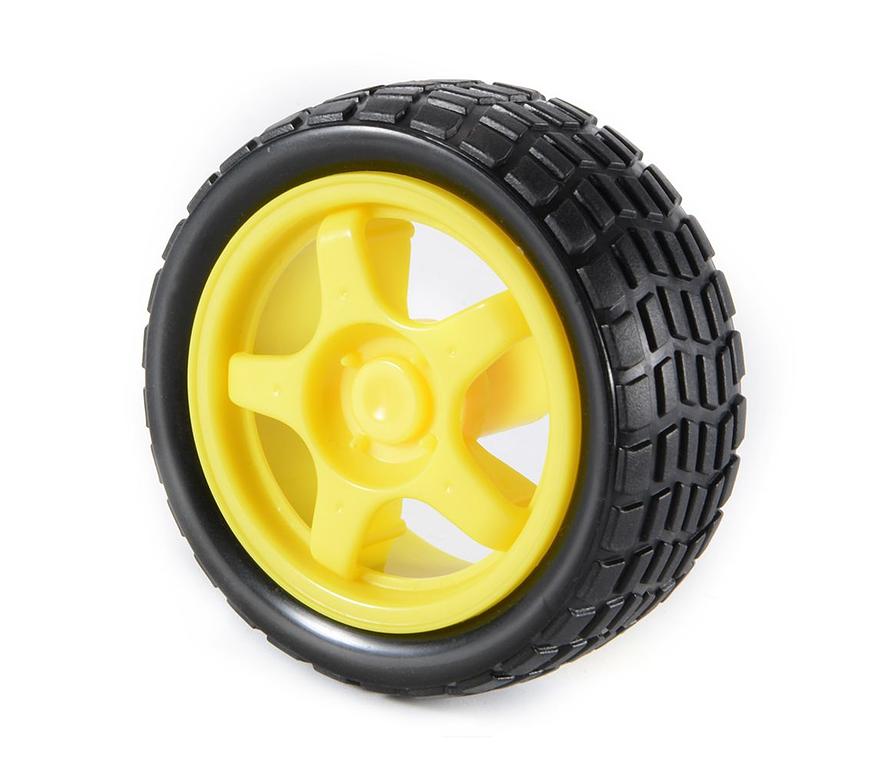
Wheels:
The rear wheels came with the motor kit shown above from Radio Shack, but they are basically just plastic wheels with rubber tires that press onto the Solarbotics gear motors output shafts. If you wanted to get some wheels that mount to the Solarbotics motors, you can find some here for just over $3.
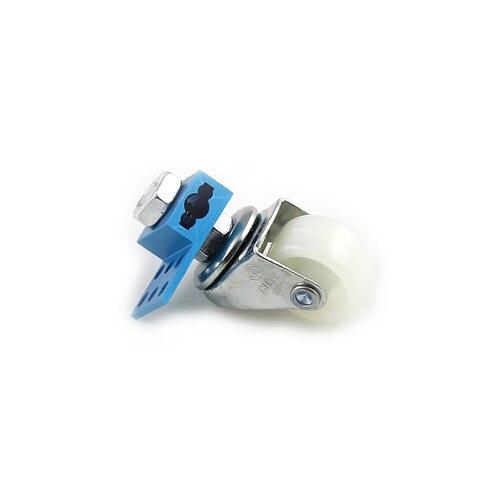
The front caster wheel I used is from one of my many Makeblock kits and was hot-glued to the front of the tin with an "L" bracket, though any small caster wheel should work in its place.
Summary:
The kids love it and even the babies can drive it - albeit by putting one of the controller sticks in their mouths and making it go in circles. But they love chasing it around the floor and it can even silence crying in some cases. So well worth the time spent.
Image Gallery